Started doing some tests from my Deployment Shares in my home lab when I realized my Reader install was woefully out of date. Figured since I had to update it anyway, might as well make a quick little guide on how to install a customized ReaderDC 2018 with MDT.
First, you’ll need to download the reader executable, I prefer grabbing it from Adobe’s FTP site. Grab the latest DC builds here: ftp.adobe.com/pub/adobe/reader/win/AcrobatDC/
You may also want to look for the latest patch for it as well, they can be a little hit or miss, but it’s worth trying to see if you can get it to work. If you’re locked into a certain version, this can be particularly useful.
If you’re just learning or comfortable with simply installing the standalone executable, that’s easy. You’ll just add it into MDT with the /sAll switch and away you go. No need to unzip the file or create a transform.
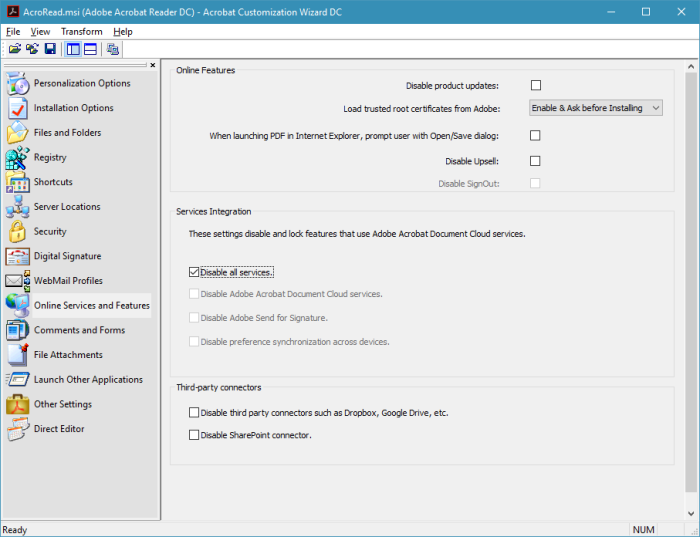
However, if you need to install a specific build or customize the install in anyway, you’ll want to extract the executable with 7Zip or WinRAR, as you need both the msi to install from and to be able to generate a transform. This comes in handy when you need to disable upsell and cloud features your users may not want or need in a corporate environment.
If this is the route you’re interested in, you’ll want to first download the Acrobat Customization Tool. This will also let you point to a msi file, configure update settings, EULA stuff and even custom registry keys to disable stuff like the “welcome to reader” first launch stuff for your users, and then save a transform file.
Information on Adobe’s tool is available here: https://www.adobe.com/devnet-docs/acrobatetk/tools/Wizard/WizardDC/basics.html
I don’t recommend disabling the auto update feature, but in some environments, reader is patched from a SMS later after testing. It’s up to you.
Finally, you’ll need to know the unattended command line magic to string along the installer and transform with the update:
msiexec.exe /qb- /l*vx %LogPath%\AcroReadDC.log REBOOT=ReallySuppress UILevel=67 ALLUSERS=2 /i AcroRead.msi PATCH="\\MDT01\Share$\Applications\AdobeReaderDC\AdbeRdrUpd2018.msp" TRANSFORMS="AcroRead.mst"
Note the path requires a FQDN, point it to the server and share.
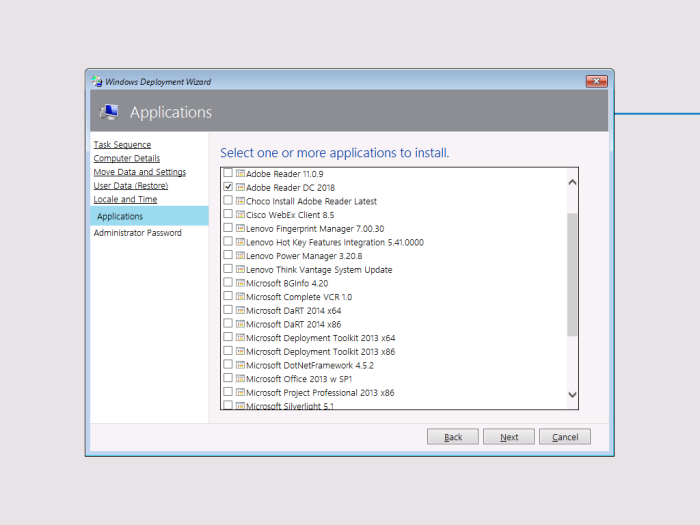
Quick Walkthrough:
Make Your Customizations to the MSI by opening it with the Adobe Customization Tool.
Once you’ve saved the mst file, you’ll want to save it with the msi and msp files before uploading them into your share.
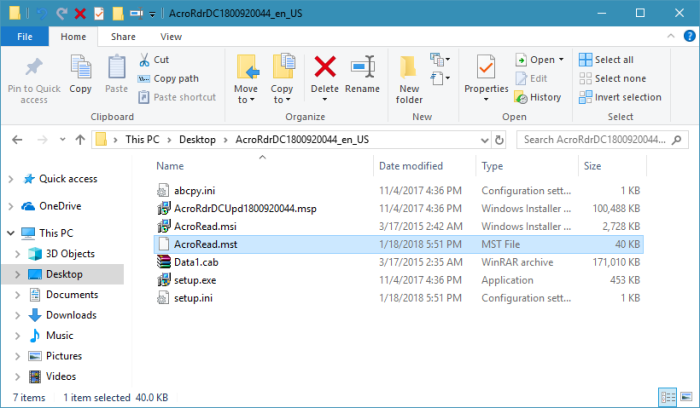
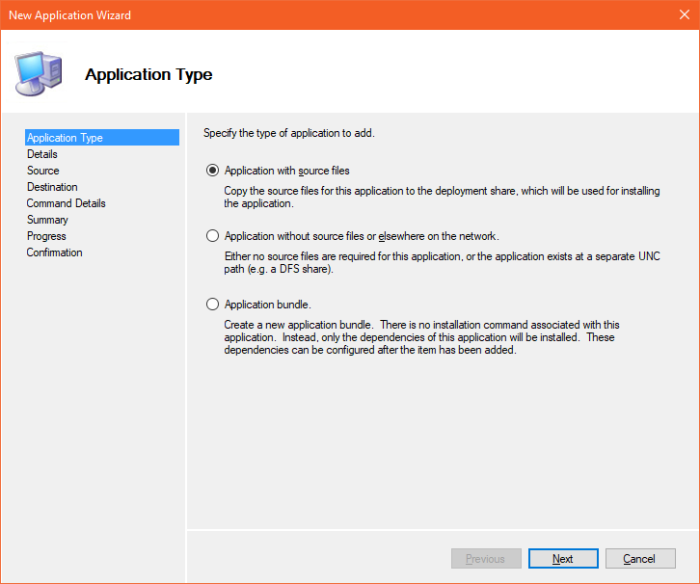
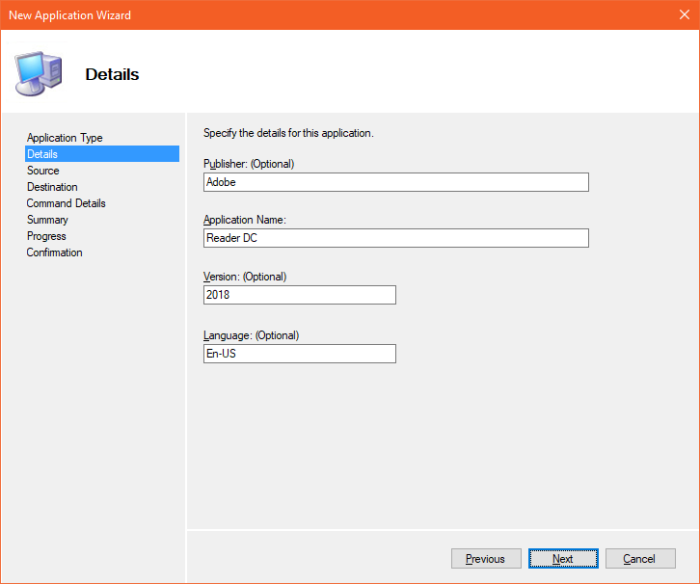
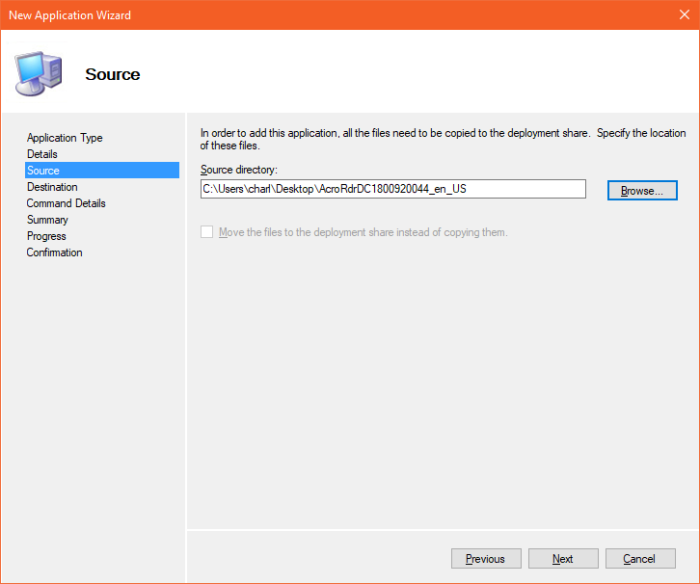
Now that you’ve downloaded, extracted, and customized everything, import it into your share as a new application with source files.
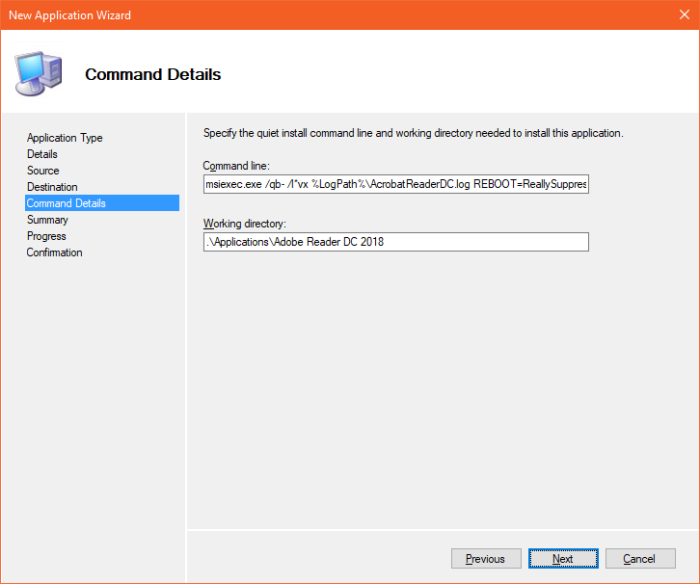
msiexec.exe /qb- /l*vx %LogPath%\AcroRead.log REBOOT=ReallySuppress UILevel=67 ALLUSERS=2 /i AcroRead.msi PATCH=”\\MDT01\Share$\Applications\Adobe Reader DC\AdbeRdrUpd2018.msp” TRANSFORMS=”AcroRead.mst”
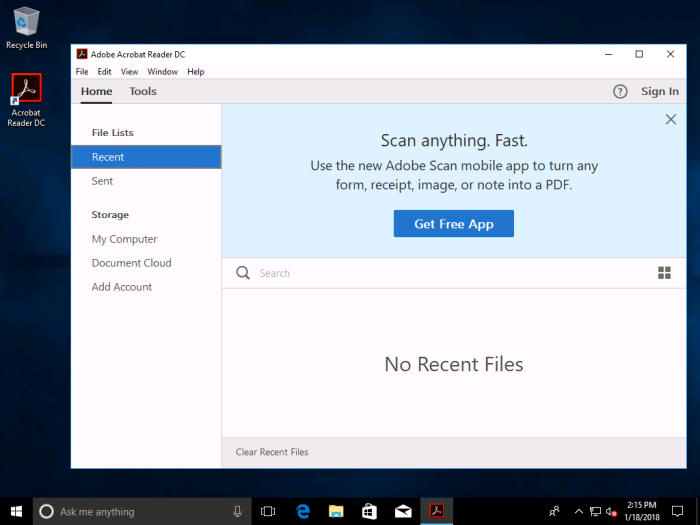
Adding a customized install of Reader into your deployment shares takes some time, but with a little bit of trial and error you’ll be installing Reader “automagically” in no time. If you’re having trouble with the install make sure to check the logs in the temp directory.
As Johan says, “Happy Deployments!”
